Use of web services in QGIS
What is a web service?
Web services are making it possible to share geographical and non-geographical information by the web. A web service provides you an access to the most up-to-date data available, and can save you time worrying about a data visualisation or processing time.
For geographical data, web services have been standardised by the Open Geospatial Consortium. The most important services for geospatial use are:
- WMS: This web service sends you a piece of a map.
- WFS: This web service sends you a piece of data.
If you only need to visualise a layer in your project, the best option is to use a WMS. If you need to analyse the data, you can consider using a WFS service. Be careful when using WFS services with big data.
How to use web services?
Web services can be used to visualise cartographical information on websites, in scripts to analyse data or in all kinds of applications. This manual explains how to use webservices in QGIS. This software is the standard for GIS-applications for Brussels Mobility.
The screenshots or made in version 3.28 of QGIS.
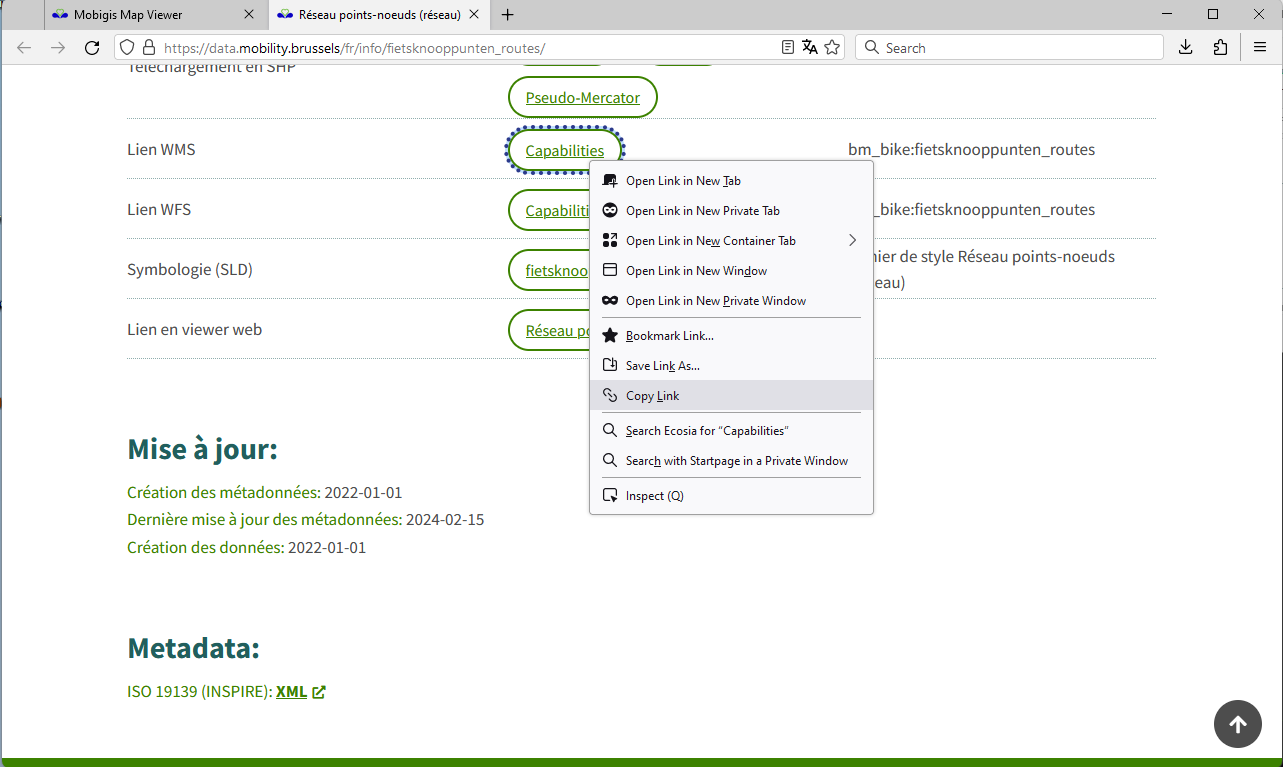
Copying the web service URL
Create a web service connection
-
Open QGIS.
-
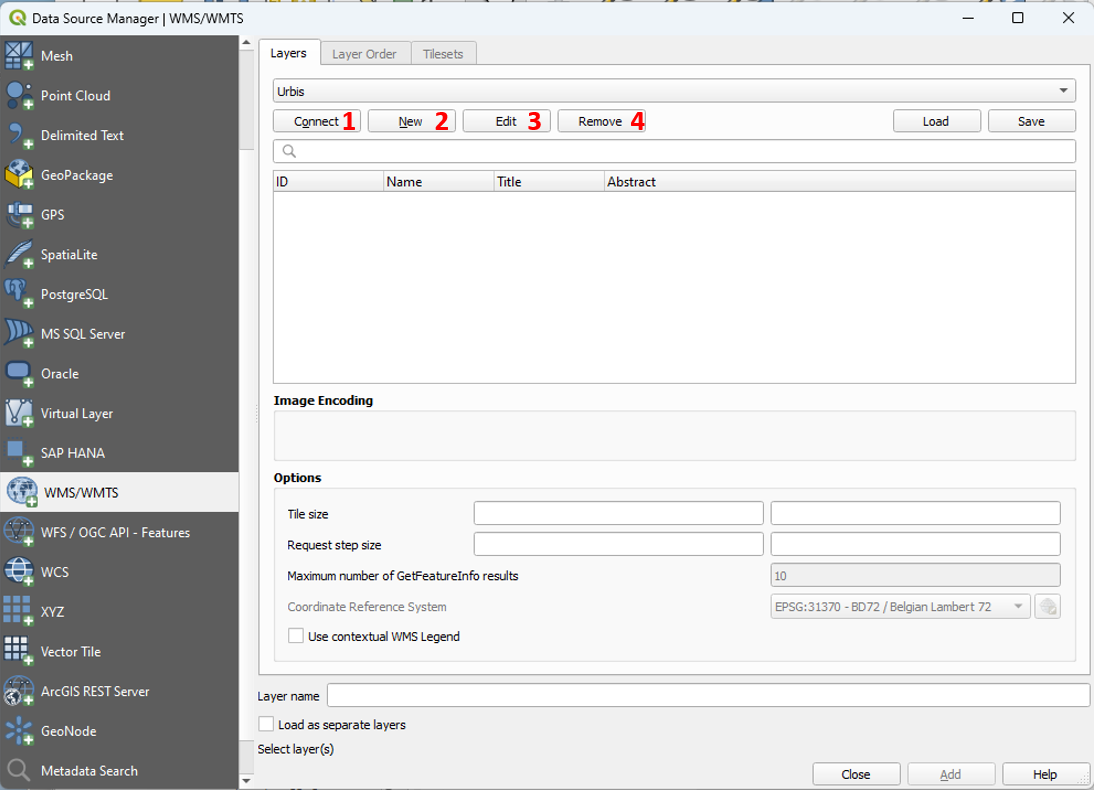
Open the Data Source Manager.
Layer > Data Source Manager (CTRL + L)
-
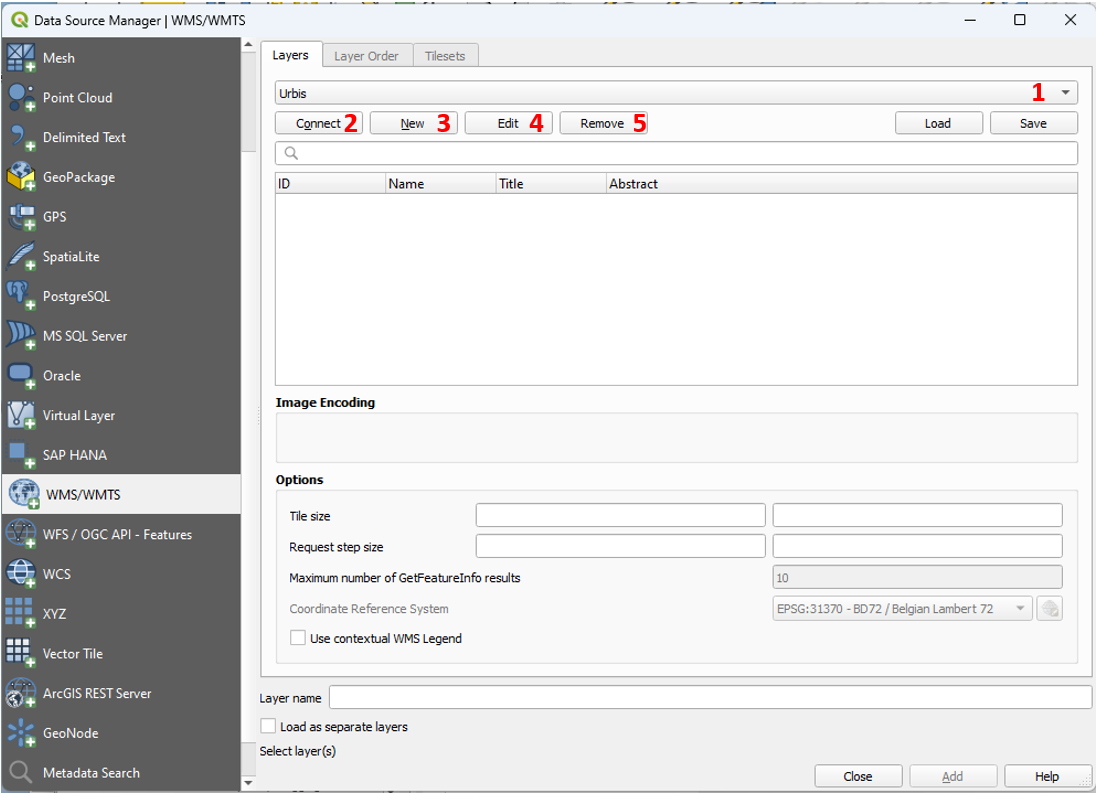
Open the menu 'WMS/WMTS' or 'WFS / OGC API - Features', dependent on the web service you want to use.
-
Create a new connection by clicking on 'new' (3).
-
Choose a name to title the new connection and paste the capabilities URL in the field 'URL'.
-
If the access to this data source is restricted, you have to add authentication parameters. You can find out how to do this in at the end of this manual. If the data source is not restricted, you can click 'OK' to create the connection.
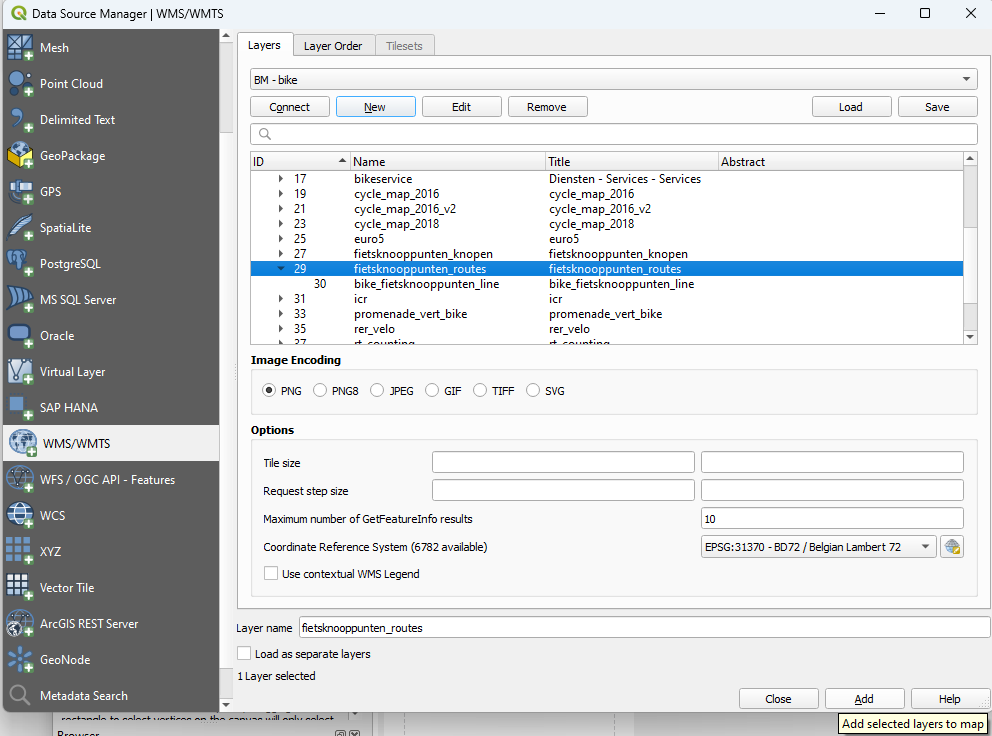
Add the dataset to your project
More info
QGIS user manual: https://docs.qgis.org/3.34/en/docs/user_manual/working_with_ogc/ogc_client_support.html
Adding authentication
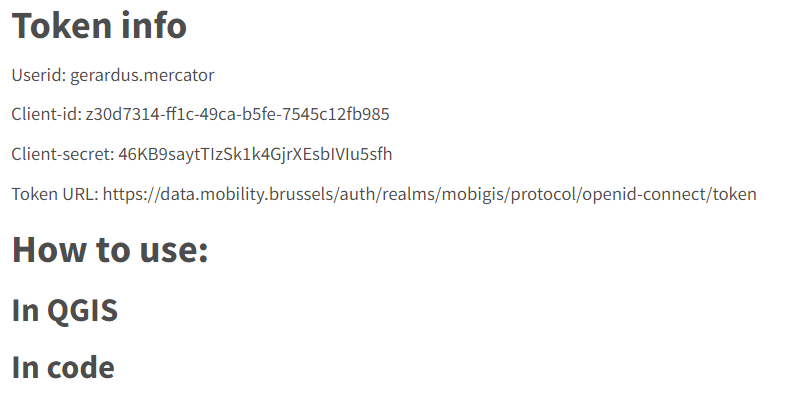
Mobigis uses Keycloak as access management system. The system is configured in a way that every registered user can receive a client secret and client id, which makes it possible to request a bearer token.
-
Open your client page. You will be asked to login; if you are not logged in. If you allready created a client id, your details will be shown. If this is the first, time you access this page, you will be asked to do this.
-
Click on the button 'Get QGIS configuration file' you can find in the 'In QGIS' section. A JSON configuration file will be downloaded.
-
Open the 'Datasource Manager' in QGIS. Edit the web service where you have to add the authentication.
-
Add an authentication configuration clicking on the green '+' button. Authentication configurations you configured before are available in the drop-down list.
-
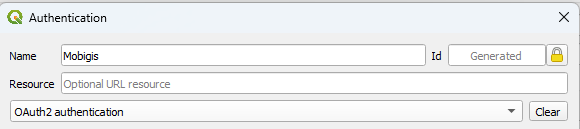
Chose a name for your configuration and select 'OAuth2 authentication' in the drop-down.
-
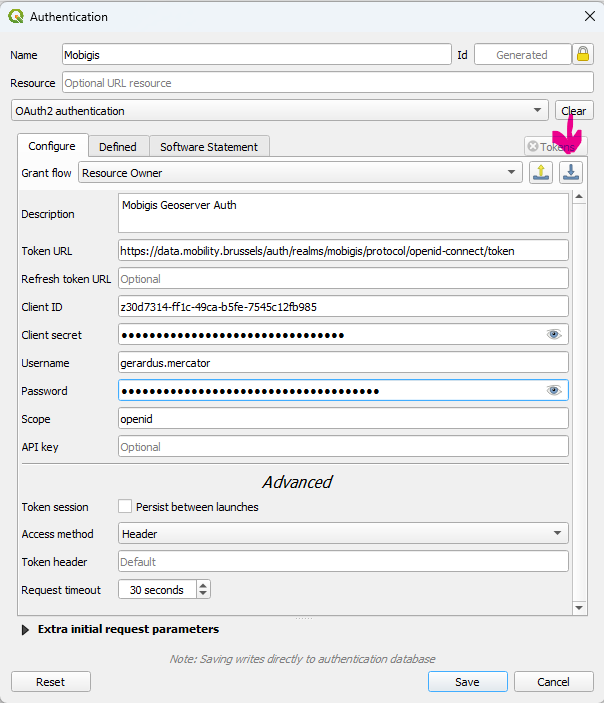
Import the configuration file (blue icon). This file completes the fields of the configuration. The only field you still have to fill in is your password (don't forget to update your password if necessary!).
-
Save the configuration and test it.